Appearance
Roles
WebWorkstationCreate named permission sets and assign them to users. Change a role once to update everyone who has it. Open Admin > Identity & Access > Roles.
How roles work
Each role contains a set of enabled permissions drawn from ZynoSuite's permission applications. When a user is assigned a role, they inherit all of the permissions that role grants.
In the current Users screen, each user has one assigned role. Their effective permissions are the role's permissions plus any directly assigned permissions. If the assigned role or a direct assignment grants a permission, the user has that permission.
Viewing roles
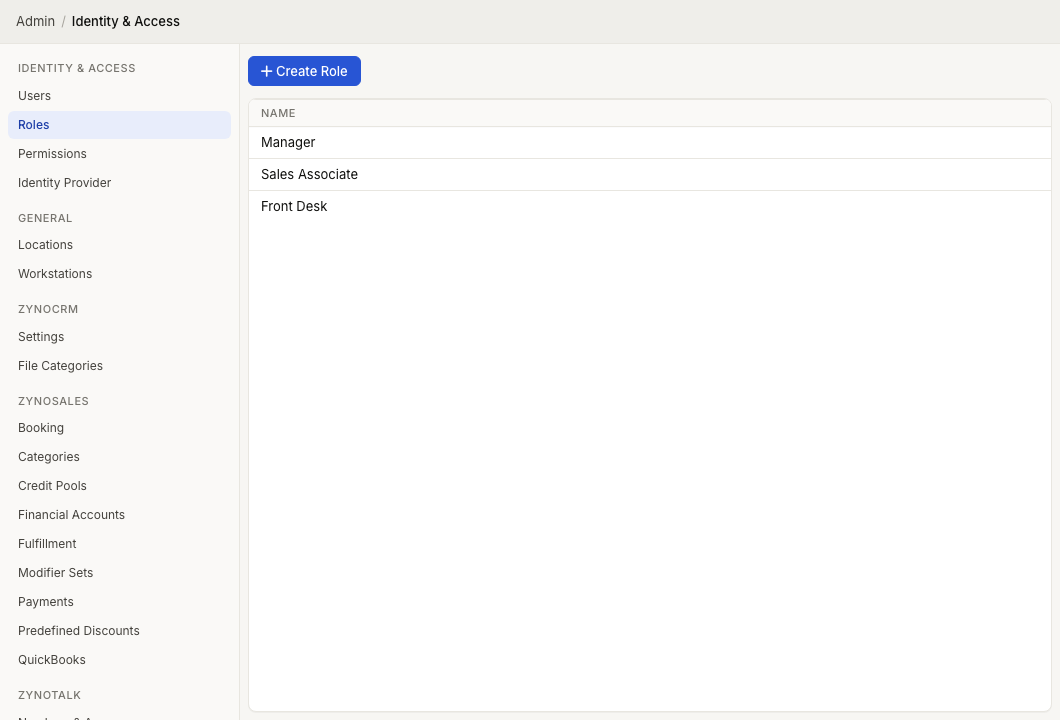
The list shows all roles in your organization. The table shows the role Name. Select a role for Edit Role and Manage Permissions.
Creating a custom role
- Select Create Role.
- Enter a descriptive Role Name (for example, "Front Desk Staff" or "Sales Manager").
- Select Create.
After creating the role, configure its permissions on the Permissions page by keeping the screen in roles mode, selecting each needed application, and choosing permission options in the role's row.
Editing a role
To modify an existing role:
- Select the role from the list.
- Select Edit Role.
- Update Role Name if needed.
- Select Save.
To change which permissions the role grants, open the Permissions page, keep the screen in roles mode, and adjust the role's permission options. Permission changes save as soon as you select them and take effect for all users who have that role.
Deleting a role
If a role is no longer needed, you can delete it. Deleting a role removes it from all users who currently have it assigned. Those users will lose any permissions that were granted exclusively through that role. Before deleting, review which users are affected to avoid unintentionally revoking access.
Assigning roles to users
Roles are assigned to users from the Users page. Open a user's detail view, choose the user's Role, and save. If a user needs access beyond their assigned role, grant a direct permission from the Permissions page or create a new combined role that matches the job.
Create reusable permission sets and assign them to users. Open Admin > Identity & Access > Roles.
- Group by job function. Create roles that map to real responsibilities, such as "Cashier," "Inventory Manager," or "CRM Agent." This makes it easy to onboard new staff by assigning the right role.
- Keep roles focused. A role with too many permissions becomes difficult to audit. Because each user has one role, create practical roles that match the way staff actually work.
- Use direct permissions for exceptions. If only one user needs an extra permission, assign it directly on their account rather than creating a role for it. See Permissions for details.